{{ item.created_at }}
800-580-4489

-
Banners
Banners

-
Stands & Displays
Banner StandsDisplay WallsA-Frame Signs

-
Signs & Decals
Rigid signsDecalsPosters

-
Custom Flags
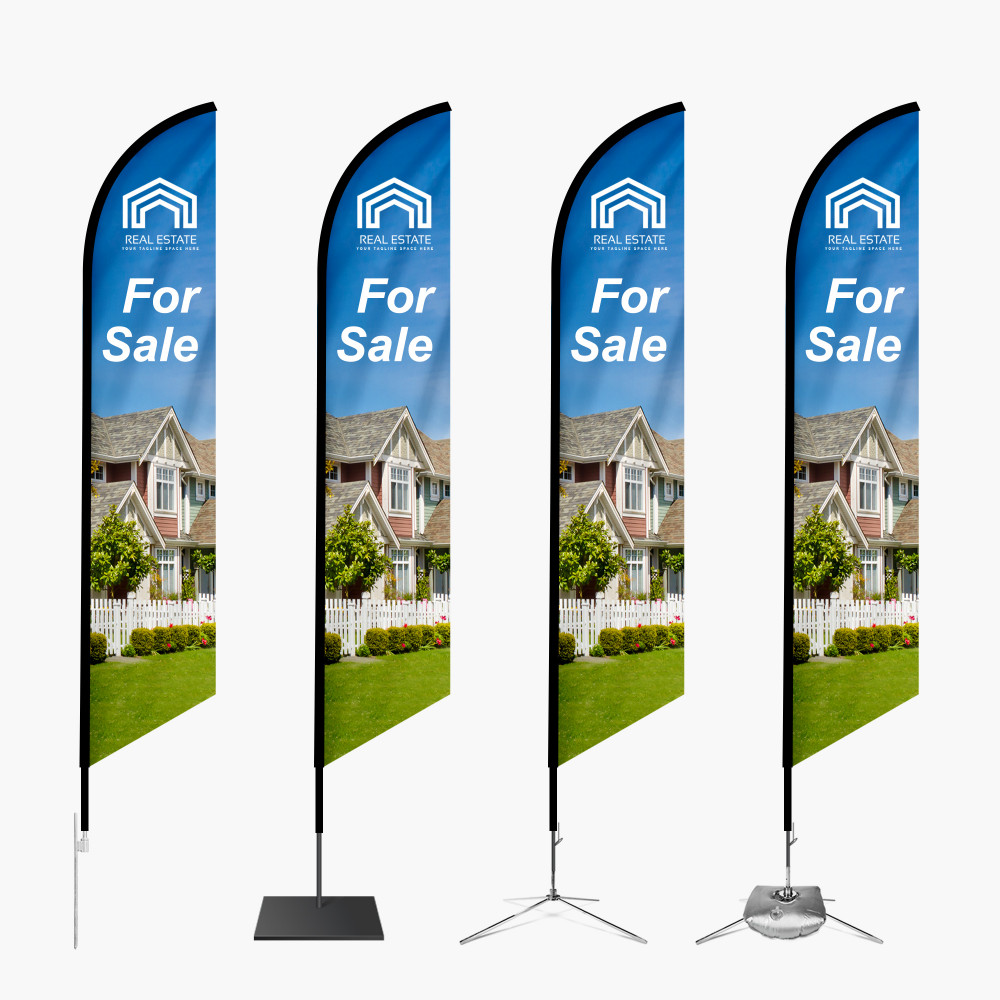
Advertising Flags
-
Featured Collections
Trade Shows & Events
 Real Estate Products
Menu
Banners
Banner Stands
Display Walls
A-Frame Signs
Rigid signs
Decals
Posters
Advertising Flags
Trade Shows & Events
Real Estate Products


